Homeowners planning a bathroom remodel often have a clear idea of what they want the finished space to look like — but far less clarity about what actually happens between demo day and the final walkthrough. That gap can lead to surprises, misaligned expectations, and decisions made too late in the process. This breakdown walks through every phase of a full bathroom remodel so you know exactly what’s involved, in what order, and why each step matters.
What does a full bathroom remodel include?
A full bathroom remodel covers every component of the space: the floor, walls, shower or tub, vanity and countertop, toilet, fixtures, lighting, and any plumbing or electrical work required to support the new design. It’s distinct from a cosmetic refresh — where only surface finishes are updated — in that it typically involves demolition of existing materials down to the studs or subfloor, allowing for a complete reset of the space.
Phase 1: Design and material selection
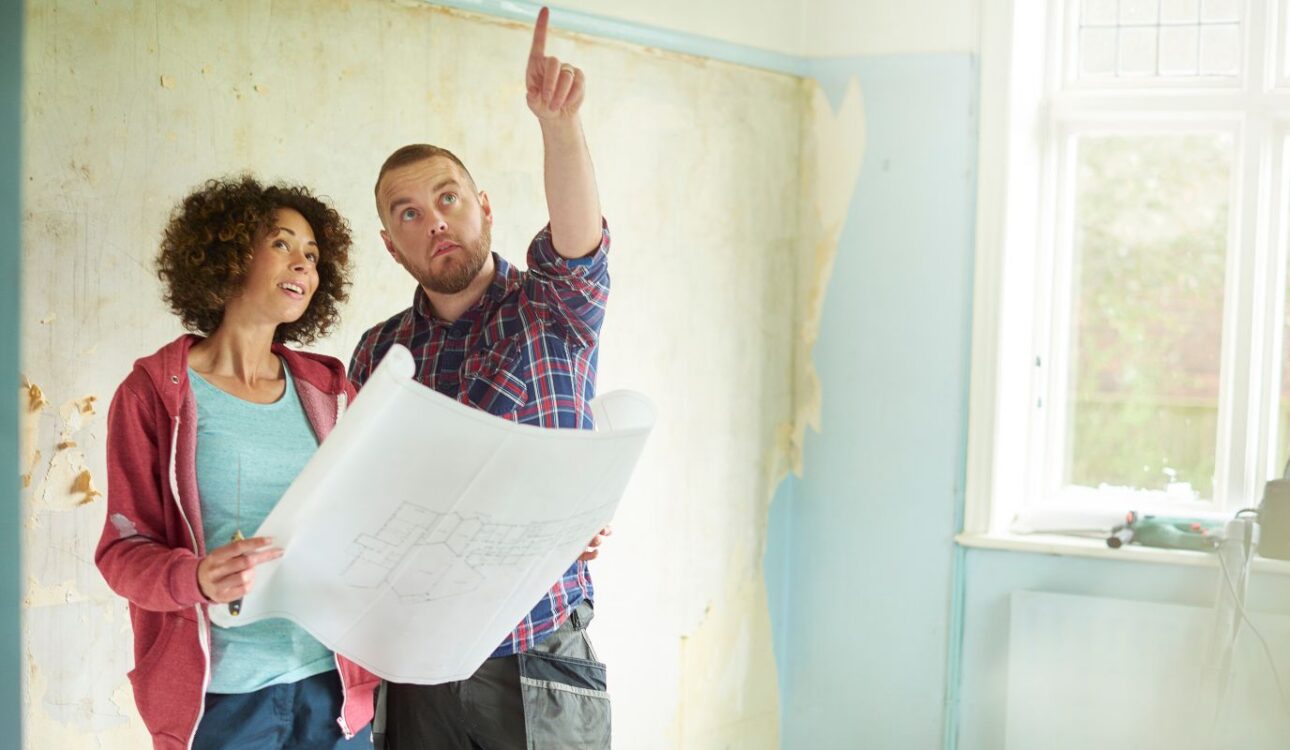
Every successful remodel starts before a single tool is picked up. The design phase is where you work through the layout, establish a budget, choose your materials, and lock in the scope of work. This is the most important phase of the entire project — decisions made here determine everything that follows.
Material selection includes tile for the floor and shower walls, the vanity style and finish, countertop material, fixtures, lighting, and any specialty items like a freestanding tub or custom shower niche. At New Generation Kitchen & Bath, our design consultation process works through all of these choices with you before the project is scheduled — so there are no mid-project surprises when a material is backordered or a selection doesn’t work with the layout.
Phase 2: Permits and scheduling
For any remodel that involves plumbing changes, electrical upgrades, or structural modifications, permits are required. In San Antonio, permits are pulled through the City’s Development Services Department. A professional contractor handles this on your behalf and schedules inspections at the appropriate milestones. Skipping permits is never worth the risk — unpermitted work can create serious complications at resale and may have to be removed and redone.
Phase 3: Demolition
Once permits are in hand and materials are ordered, the project begins with demo. Existing tile, drywall (or cement board), flooring, the vanity, fixtures, and often the tub or shower enclosure are removed. This is also when the existing condition of the space becomes fully visible — what’s behind the walls, whether there’s any water damage or mold, and whether the subfloor is solid. A thorough demo sets a clean foundation for everything that follows.
Demolition debris is hauled out and the space is prepared for the next phase. Any water damage or structural issues discovered during demo are addressed before new materials go in.
Phase 4: Rough plumbing and electrical
If the remodel involves moving drain lines, relocating the shower, adding a new fixture location, or upgrading the electrical panel or circuits, that work happens now — before walls are closed up. This is the phase where a licensed plumber and electrician are on-site. Any work in this phase is subject to inspection before it can be covered.
For remodels that don’t involve plumbing or electrical relocation, this phase is minimal. The existing rough-in stays in place and the project moves directly to substrate and tile.
Phase 5: Waterproofing and substrate
Waterproofing is one of the most critical — and least visible — parts of a bathroom remodel. Cement board or a membrane waterproofing system is installed on all wet surfaces (shower walls, tub surround, shower floor) before any tile goes up. Done correctly, this layer is what prevents water intrusion behind the tile from causing mold, rot, and structural damage over time. Done poorly or skipped, it’s the source of virtually every shower leak and water damage claim homeowners deal with years later.
According to the National Association of Home Builders, water damage is among the most common and costly home repair issues — and most of it originates from improper waterproofing in wet areas. This is not a step to cut corners on.
Phase 6: Tile installation
Floor tile and wall tile are installed in sequence, starting with the shower walls and floor, then moving to the main bathroom floor. Tile layout, pattern, and grout color were all determined during the design phase, so by this point the installer is executing an agreed-upon plan. Tile work is labor-intensive and takes time — rushing it produces lippage, uneven grout lines, and a finished product that doesn’t hold up. Our mosaic and tile options give homeowners a wide range of styles to work with, from classic subway formats to large-format stone-look porcelain.
Phase 7: Vanity, cabinetry, and countertop installation
Once the tile is set and grouted, the vanity is installed and the countertop is templated and set. If the countertop is stone quartz, granite, or marble it’s fabricated off-site to the exact dimensions of the vanity and returned for final installation. Plumbing connections for the sink and faucet are made at this stage as well.
Phase 8: Fixtures, lighting, and finish work
Toilets, faucets, showerheads, towel bars, mirrors, and light fixtures are all installed in the final phase. This is also when trim work is completed, walls are painted, and any touch-up tile or grout work is done. The space comes together quickly in this phase — what was a rough, partly-finished room begins to look like the finished product from the design phase.
Phase 9: Final walkthrough and cleanup
Before the project is considered complete, a final walkthrough is conducted to verify that every element meets the agreed-upon scope, all fixtures are functioning properly, grout and caulk are finished cleanly, and the space is ready to use. Any punch-list items identified during the walkthrough are addressed before closeout. The space is cleaned and cleared of all construction materials and debris.
This is the standard we hold every bathroom remodel to at New Generation Kitchen & Bath. From first consultation to final walkthrough, every phase is managed by our in-house team — which means consistent quality, clear communication, and a finished space that matches what we designed together. If you’re ready to start planning your bathroom remodel in San Antonio, we’re here to walk you through every step.
Frequently Asked Questions
How long does a full bathroom remodel take?
Most full bathroom remodels take 2–4 weeks from demo to completion. Projects involving custom materials, plumbing relocation, or layout changes may run 4–6 weeks.
What is the difference between a full remodel and a bathroom refresh?
A full remodel involves demolition and replacement of all components, often down to the studs. A refresh replaces surface finishes only — new fixtures, paint, a vanity swap — without touching the underlying structure or tile substrate.
Do I need to move out during a bathroom remodel?
Not typically. If you have more than one bathroom, you can use the other while the remodel is underway. For single-bathroom homes, your contractor can often sequence the work to minimize the disruption window.
What happens if there’s water damage discovered during demo?
Any water damage, mold, or compromised substrate found during demolition is addressed before new materials go in. Your contractor should document the issue, explain the scope of remediation required, and issue a change order if the additional work affects the budget.
Can I supply my own materials for a bathroom remodel?
Some contractors allow it; others don’t. The complication is that contractor-supplied materials typically come with a workmanship warranty. When homeowners supply materials, the contractor may not be able to warrant the outcome if a product fails. Discuss this clearly before signing a contract.
What should I do to prepare for a bathroom remodel?
Clear out all personal items from the bathroom, arrange for alternate bathroom access if needed, and make sure the contractor has clear access to the space on the first day. Your contractor will handle all material delivery, staging, and protection of adjacent areas.